Truman Virtual Desktop Client for Windows - Installation and Configuration Instructions
1. Download the Omnissa VMWare client by clicking here. Save the file to a location you can easily find, such as your desktop.
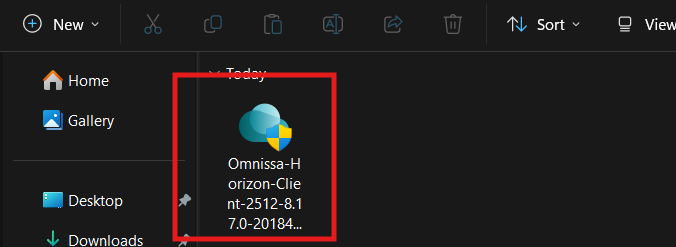
2. Locate the downloaded file and double-click it.
3. When the Omnissa VMware Client setup welcome screen appears, click Agree & Install to continue

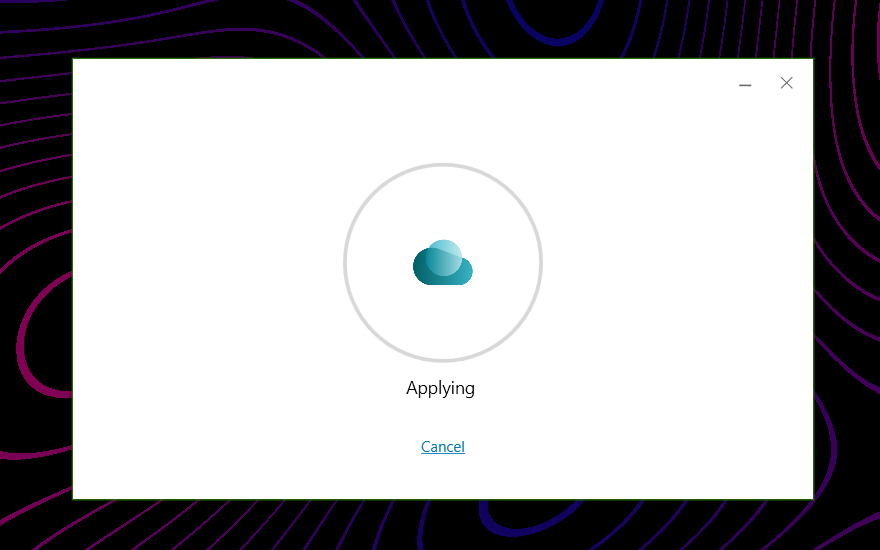
4. The installer will automatically install the Omnissa VMware Client on your computer.
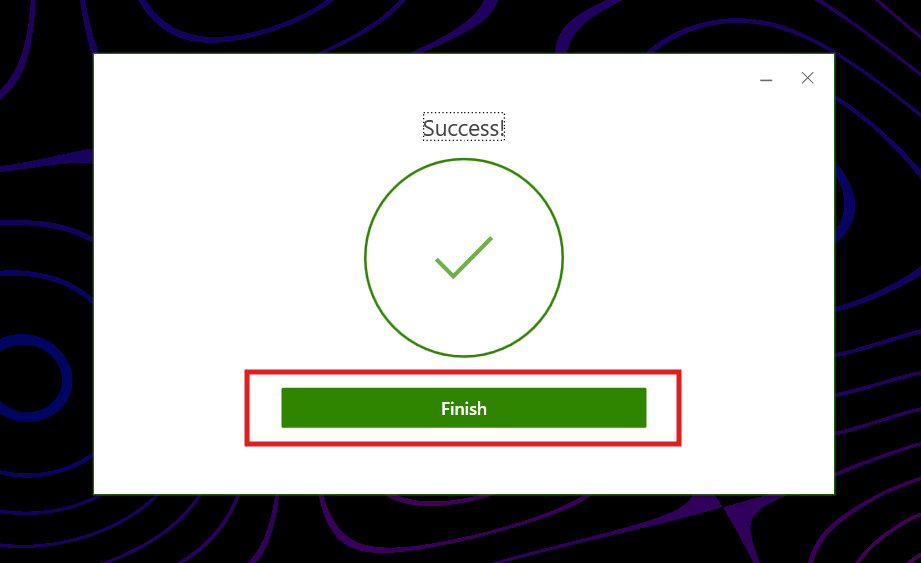
5. Once the installation is complete, a confirmation screen will appear. Click Finish to proceed.
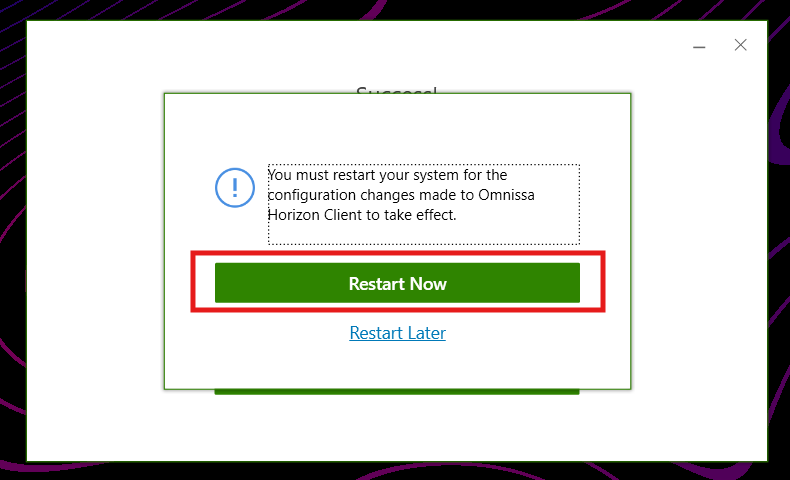
6. You will be prompted to restart your computer. Click Restart Now to complete the installation process
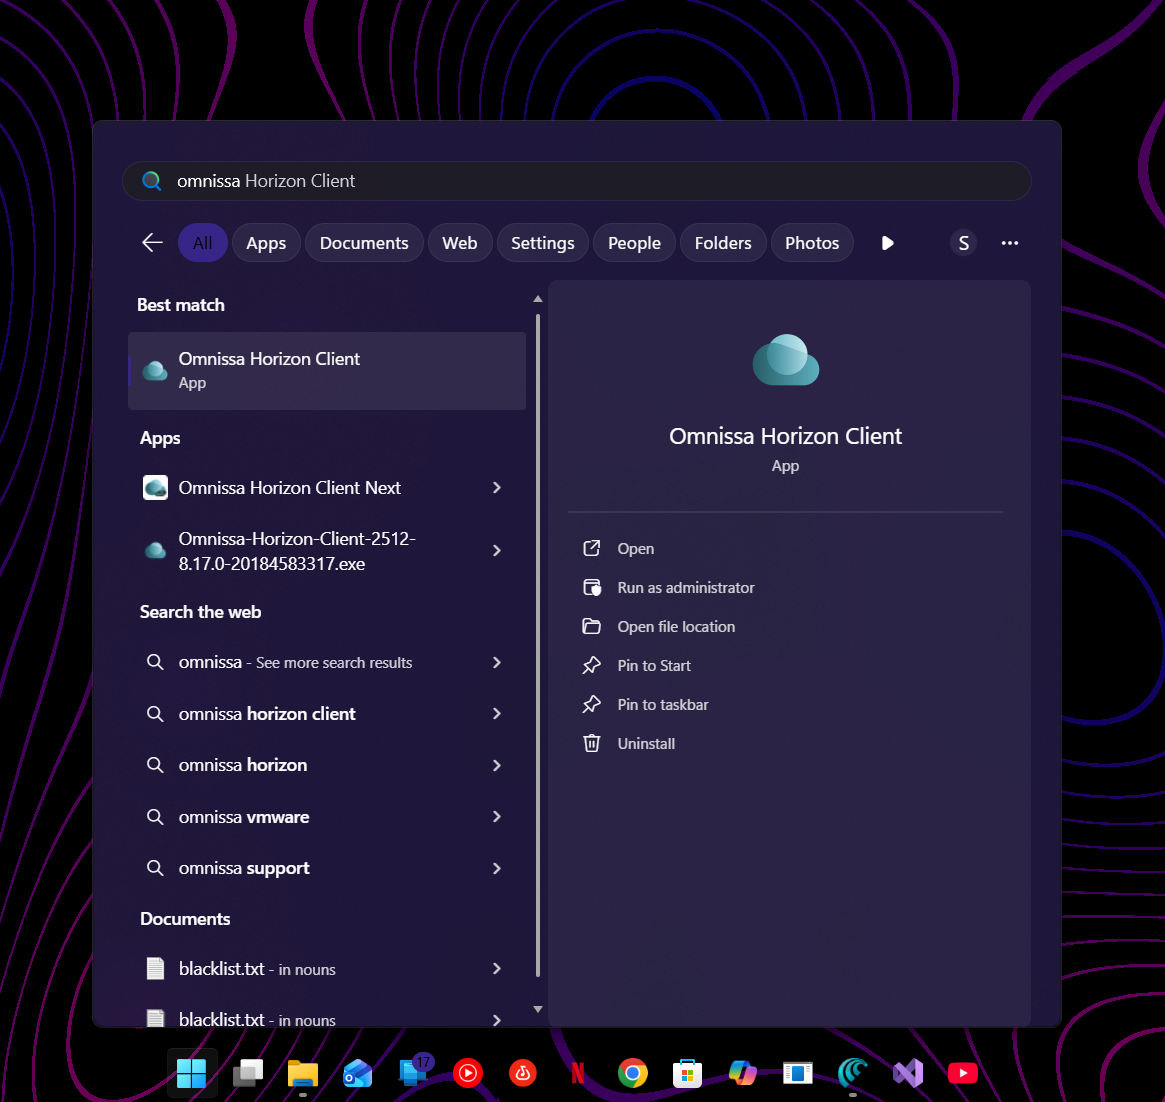
7. After your computer restarts, open the Omnissa Horizon Client
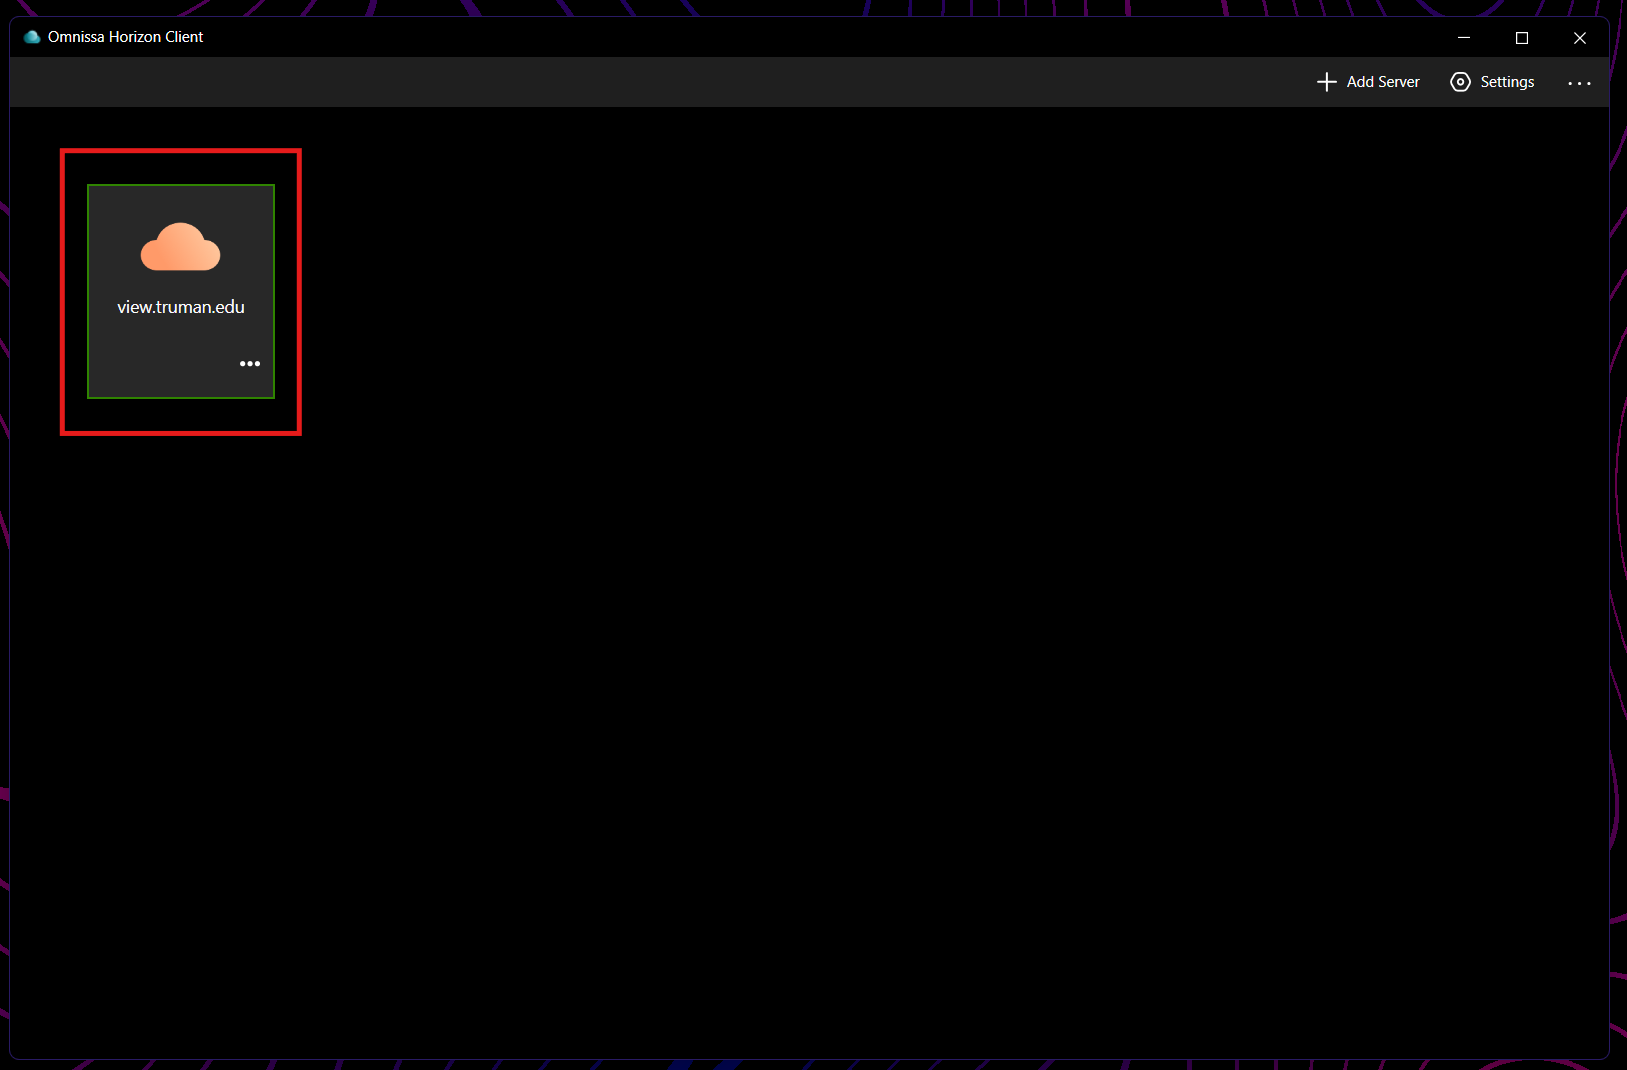
8. When the application launches, you should see a list of available VMware servers. Select view.truman.edu.
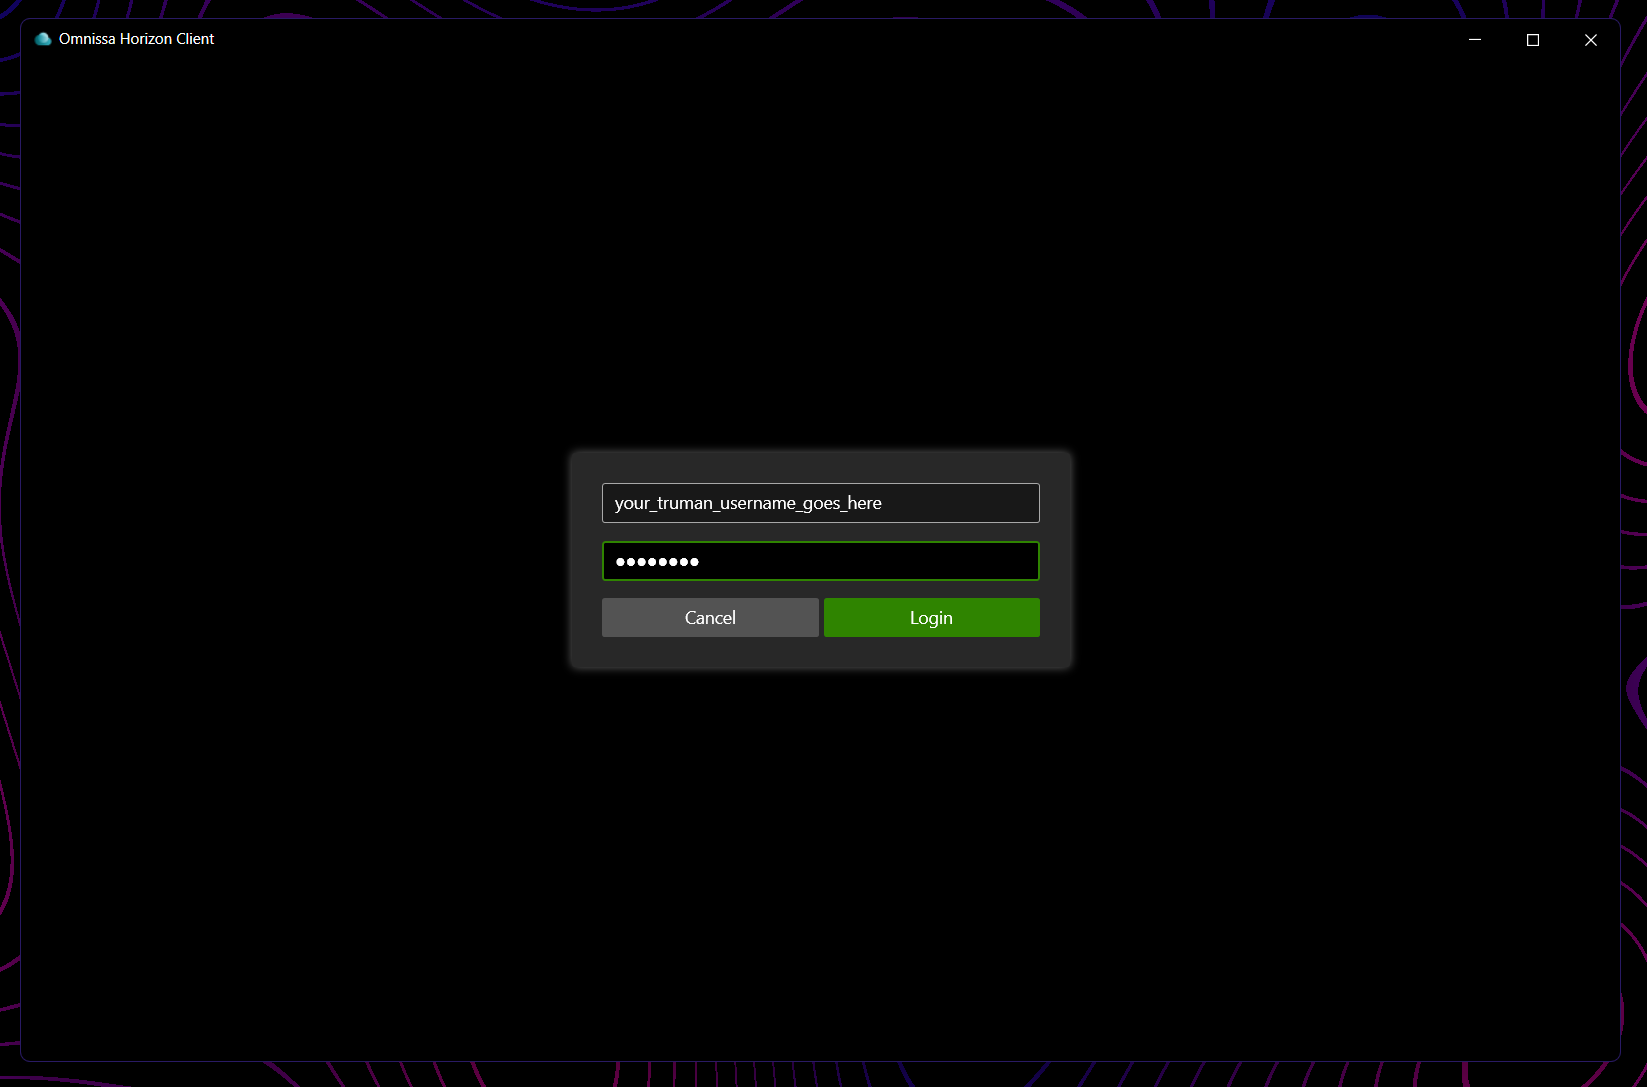
9. You will be prompted to enter your login credentials. Enter your Truman username in the first field and your password in the second field, then click Login.
10. Select a virtual machine from the list of available options.
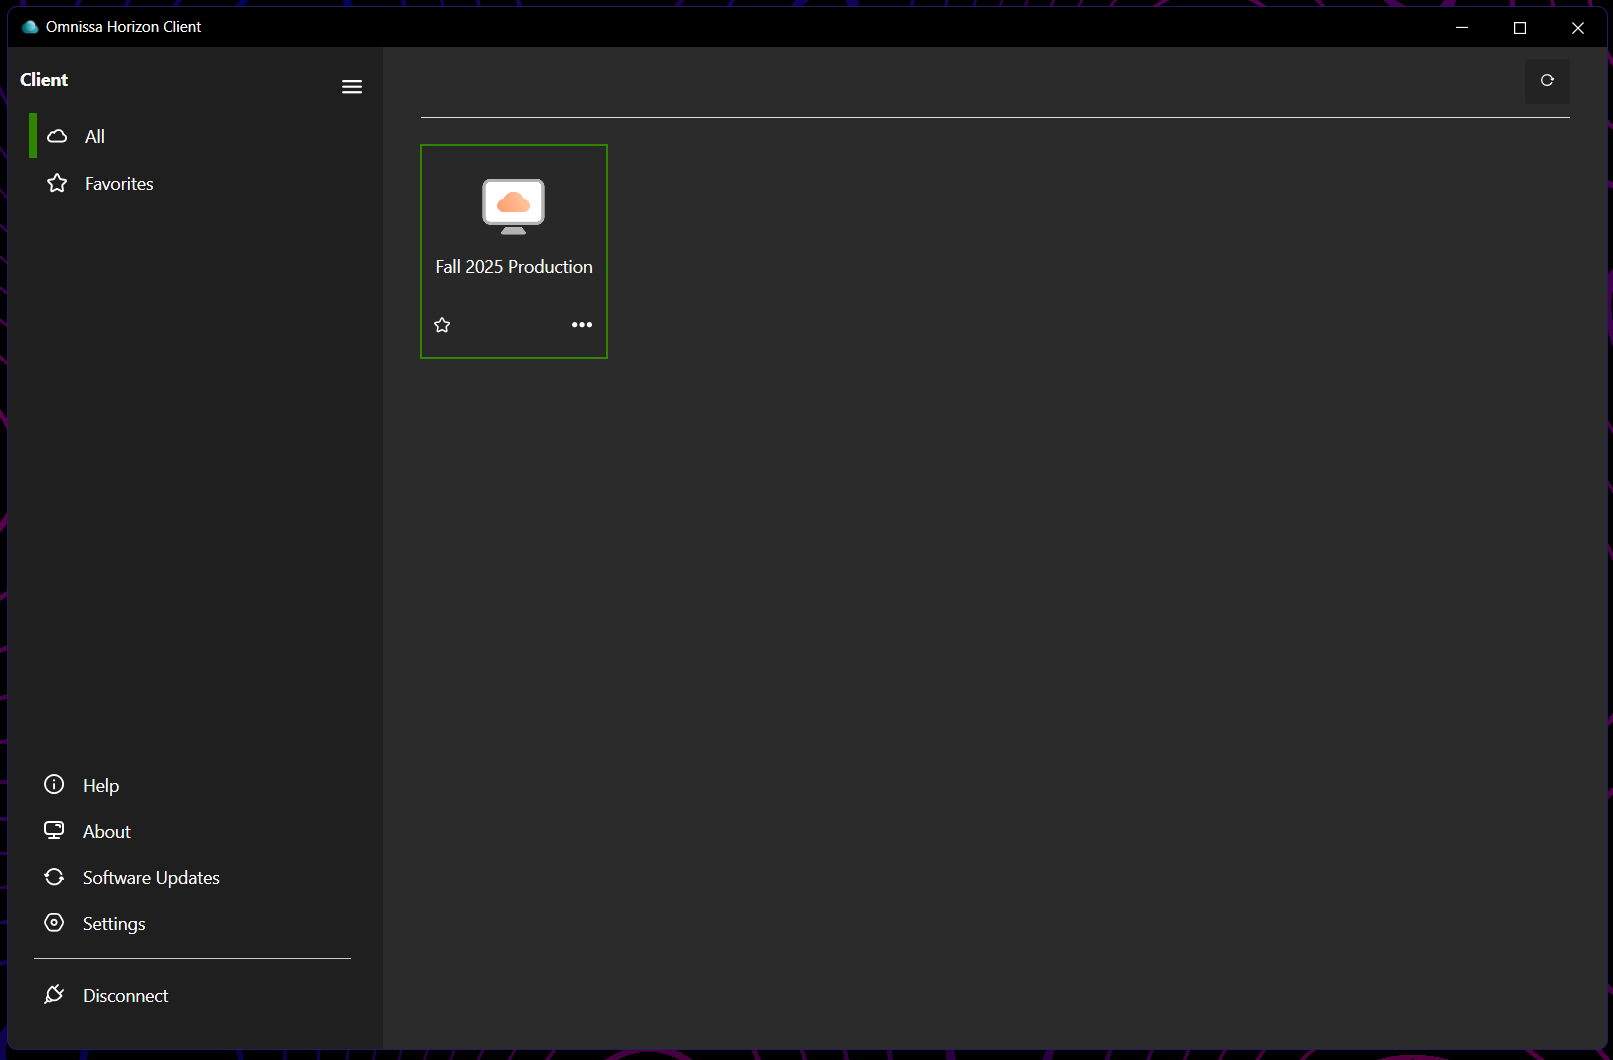
11. After selecting a virtual machine, your virtual desktop should load automatically. If the virtual desktop does not load, please contact the Truman IT Helpdesk for assistance (PML 203, Phone: 660-785-4544).

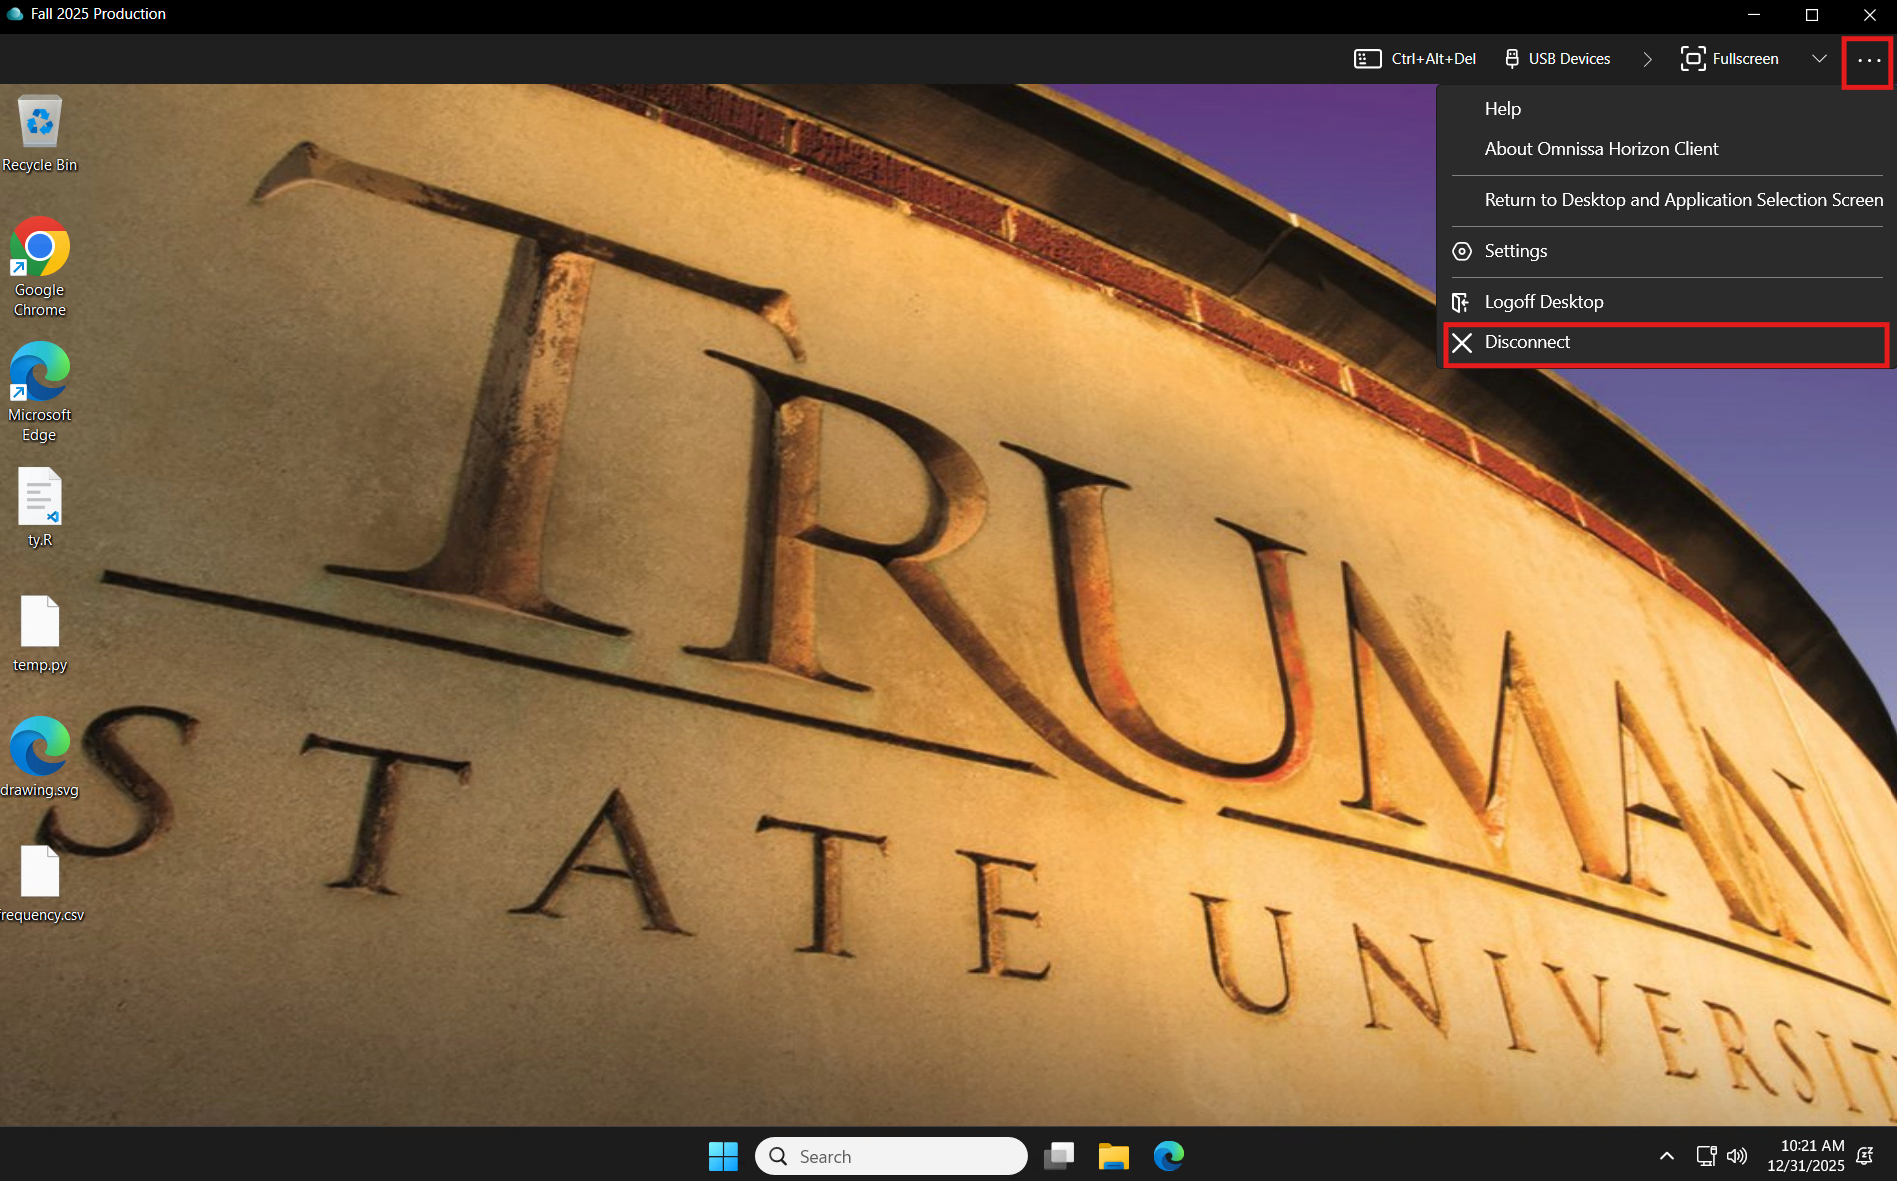
12. To exit the virtual desktop, click the horizontal three-dot icon on the Omnissa VMware Client status/navigation bar and select Disconnect