Truman VPN Client for Windows - Installation and Configuration Instructions
1. Download the VPN client by clicking here. Save the file to a location you can easily find, such as your Desktop.
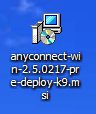
2. Locate the downloaded file and double-click it.
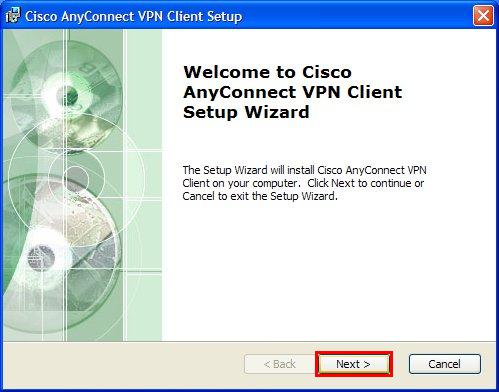
3.You should then be presented with the Client Setup Welcome Screen, click Next to continue.
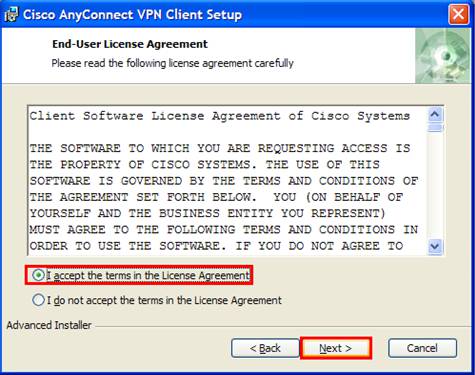
4. You will then be presented with the End User License Agreement, select I accept the terms in the License agreement and then click Next.
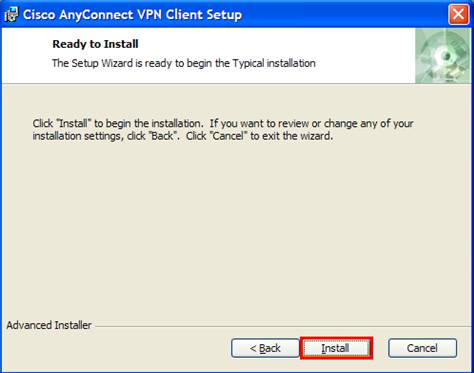
5. Click Install to install the software
 .
.
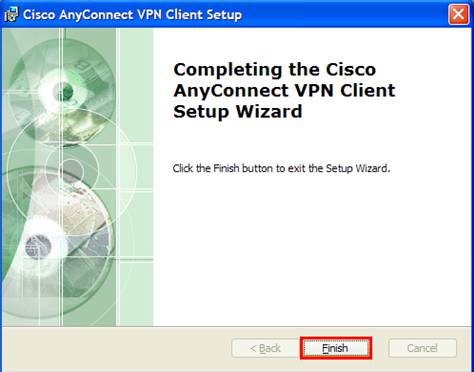
6. Click Finish to complete the installation.
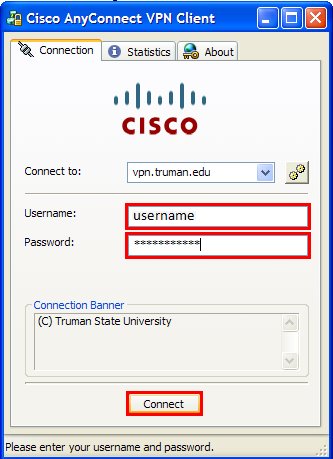
7. Now click Start > All Programs > Cisco > Cisco AnyConnect VPN Client > Cisco AnyConnect VPN Client to start the VPN Client

8. Type in vpn.truman.edu in the Connect to field and click Select.

9. Type in your Truman username and password and click Connect.
10. Once VPN is connected, you should see an icon in the System Tray to the lower right of the screen that looks like this:
![]()
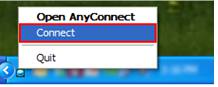
11. To disconnect from the VPN, right click on the icon in the System Tray and select Disconnect

12. The icon will then have a red X on it for a few seconds and then when it is disconnected it will look like this:
![]()
13. If you wish to reconnect to the VPN, you can right click on the icon and click Connect or run the program from the Start Menu as in Step 7, then repeat Steps 8 and 9 to connect.