Windows 8: Installing and Connecting to the Truman VPN
- First, download the Cisco AnyConnect Secure Mobility 3.1 Client from here. Best practice would be to save it in a location where you can get to it again if needed.
- Next, Double-click on the installer that you downloaded, (named “anyconnect-win-3.1.01065-pre-deploy-k9.msi” unless specified differently during download) and the screen below will appear.
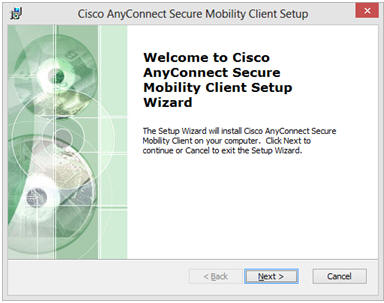
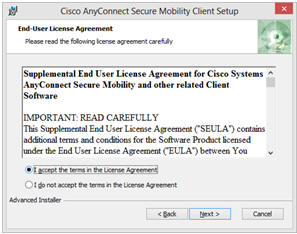
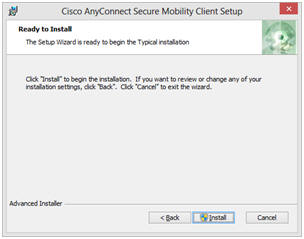
- Click “Next”, agree to the License Agreement, and begin the installation. (Screen shots are below)
- Once the installation completes, access the Cisco AnyConnect Secure Mobility Client by returning to the “Start” screen, and scrolling to right until you see the Cisco AnyConnect tile. Click on it to start the application. (You can also “Right-click” to choose from several options, including “Pin to taskbar”.)

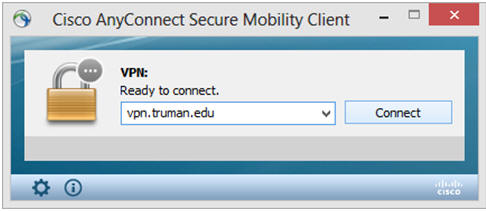
- Once the application opens, you will need to specify the secure network to connect to. For off campus access to the Truman network, enter “vpn.truman.edu”. Click “Connect” to continue.
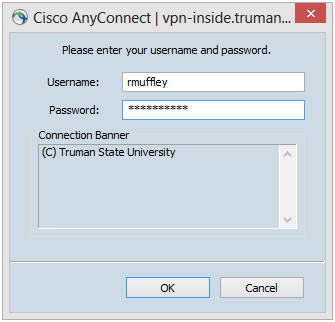
- Next, login using your Truman username and password. Click OK, and you are connected.