Truman VPN Client for Mac - Installation and Configuration Instructions
1. Click
here to download the VPN software.
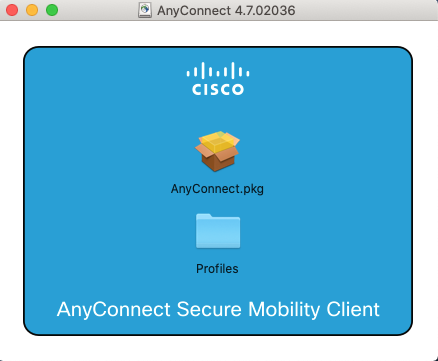
2. Locate the downloaded file and double-click it.

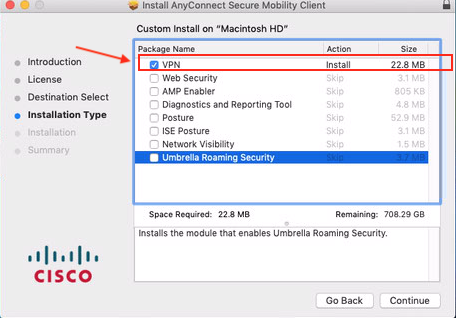
5. Click continue until you get to this screen. Make sure that you uncheck everything except for the VPN, then continue
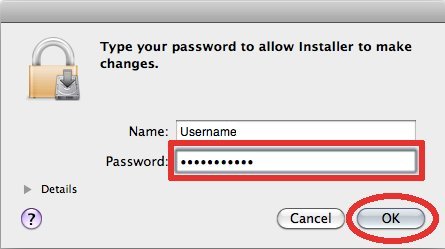
6. You will then be prompted to type in your password to begin the installation, type in your password and click Ok
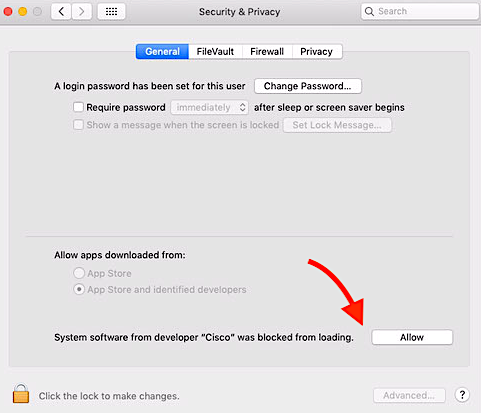
7. You may get a notification that an extension is blocked. Click on Open Preferences
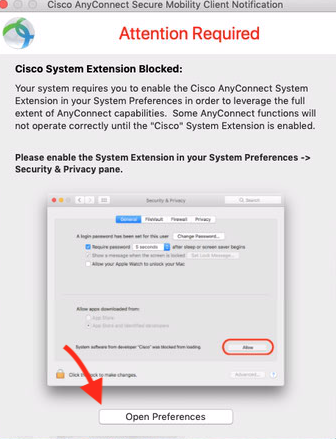
8. In System Preferences> Security & Privacy, select Allow
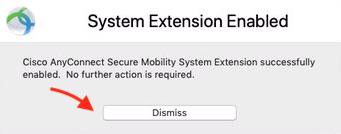
9. You will get another prompt telling that you successfully enabled cisco, then the install will finish.
10. To open the App, find Cisco in your applications and launch it

11.Type in vpn.truman.edu in the Connect to: field and click select
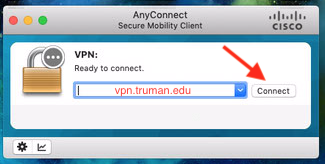
12. Type in your Truman username and password and click Connect
13. When you are connected you should see an icon in the System Tray in the upper right hand corner of the screen that looks like this:

14. To disconnect, click on the icon in the System Tray and click Disconnect
15. to reconnect, either reopen the program from your applications or click on the icon in the System Tray and click Connect then repeat steps 11 and 12 to reconnect Locate the downloaded file and double-click it.